HI, THIS BLOG WILL TEACH YOU HOW TO USE HOMEGROUP TO SHARE YOUR FILES TO YOUR FRIENDS AND FAMILY
JUST FOLLOW THE STEP BY STEP GUIDE BELOW. ENJOY!
STEP 1

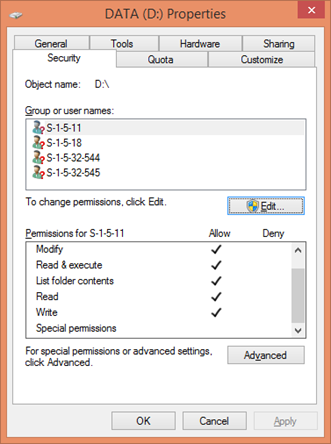
1. Go to file explorer. Choose the drive that wanted to be shared.
2. Right click on the drive, and choose properties.
STEP 2
1. In the properties setting, click on security, and click “edit”.
STEP 3
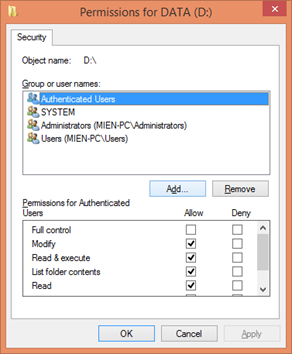
1. In the security menu , there will be located the permissions for authenticated users. It will be used to grant access to any users in the same network.
2. After that, click the button ADD.
STEP 4
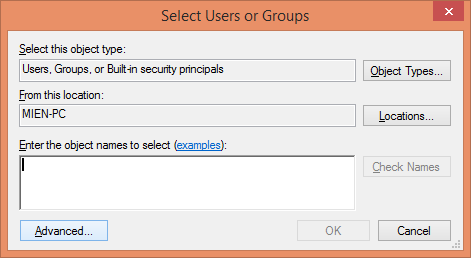
1. In this part, we will be able to add any user to access the drive.
2. In order to do that, click the button ADVANCED.
STEP 5
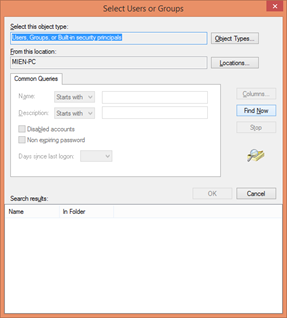
1. In this section, we can find any user in the same network as ours. To find them, click the button FIND NOW.
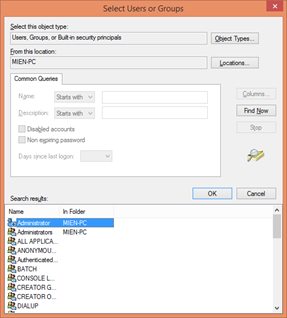
2. After that, the search result will display every user in the network that we can grant access to the drive the wanted to be shared earlier.
STEP 6
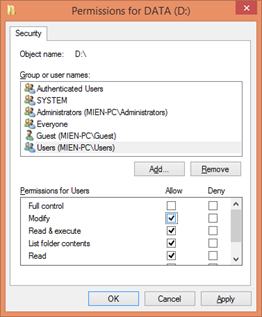
1. In this step, 3 clients has been added in to the sharing network that is EVERYONE , GUEST & USER.
2. As we can see, USERS has been granted the permission to not only to access but to modify the drive.
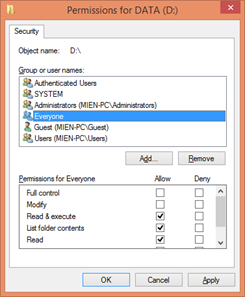
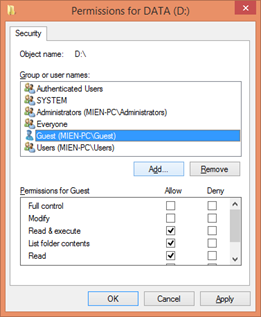
3. On the other hand, GUEST & EVERYONE only be able to access and read the drive, not to modify it.
More info in this video below: